

octop CLI, run octop init, start the server, complete the first-run setup wizard, and send your first message — all in under five minutes.
1
Install Octop
Choose the installer that matches your platform. Every method provisions an isolated environment at
~/.octop/venv and adds octop to your PATH via ~/.octop/bin — no system Python is required.2
Reload your shell
Open a new terminal, or reload your current shell session so that Confirm the installation succeeded:
~/.octop/bin is picked up from your PATH:On Windows the installer updates your user PATH automatically — close and reopen your terminal to apply the change. No shell reload command is needed.
3
Initialize Octop
Bootstrap your local environment:This prepares
~/.octop/ (database, secrets, and related files). All data stays on your machine under ~/.octop/.4
Start the server
Launch Octop in the foreground:Once you see the server ready message, open your browser and navigate to:On first launch the dashboard opens the setup wizard. Open To bind on all network interfaces or use a different port, pass flags directly:To run Octop as a persistent background service (systemd, launchd, or Windows Service), use:
~/octop-login.txt in your user home directory, copy the one-time setup password into the wizard, then choose your own admin username and password.The file is
~/octop-login.txt in the user home directory, not under ~/.octop/. After setup completes, keep the file if you still need the one-time password — Octop no longer deletes it. Sign in with the username and password you created. Docker first boot uses a different pair (admin / Octop123) — see Docker Setup.5
Configure a model provider
Octop ships built-in presets for Tencent Cloud, OpenAI, Anthropic, DeepSeek, Ollama, and many more. Add your first provider from the web UI: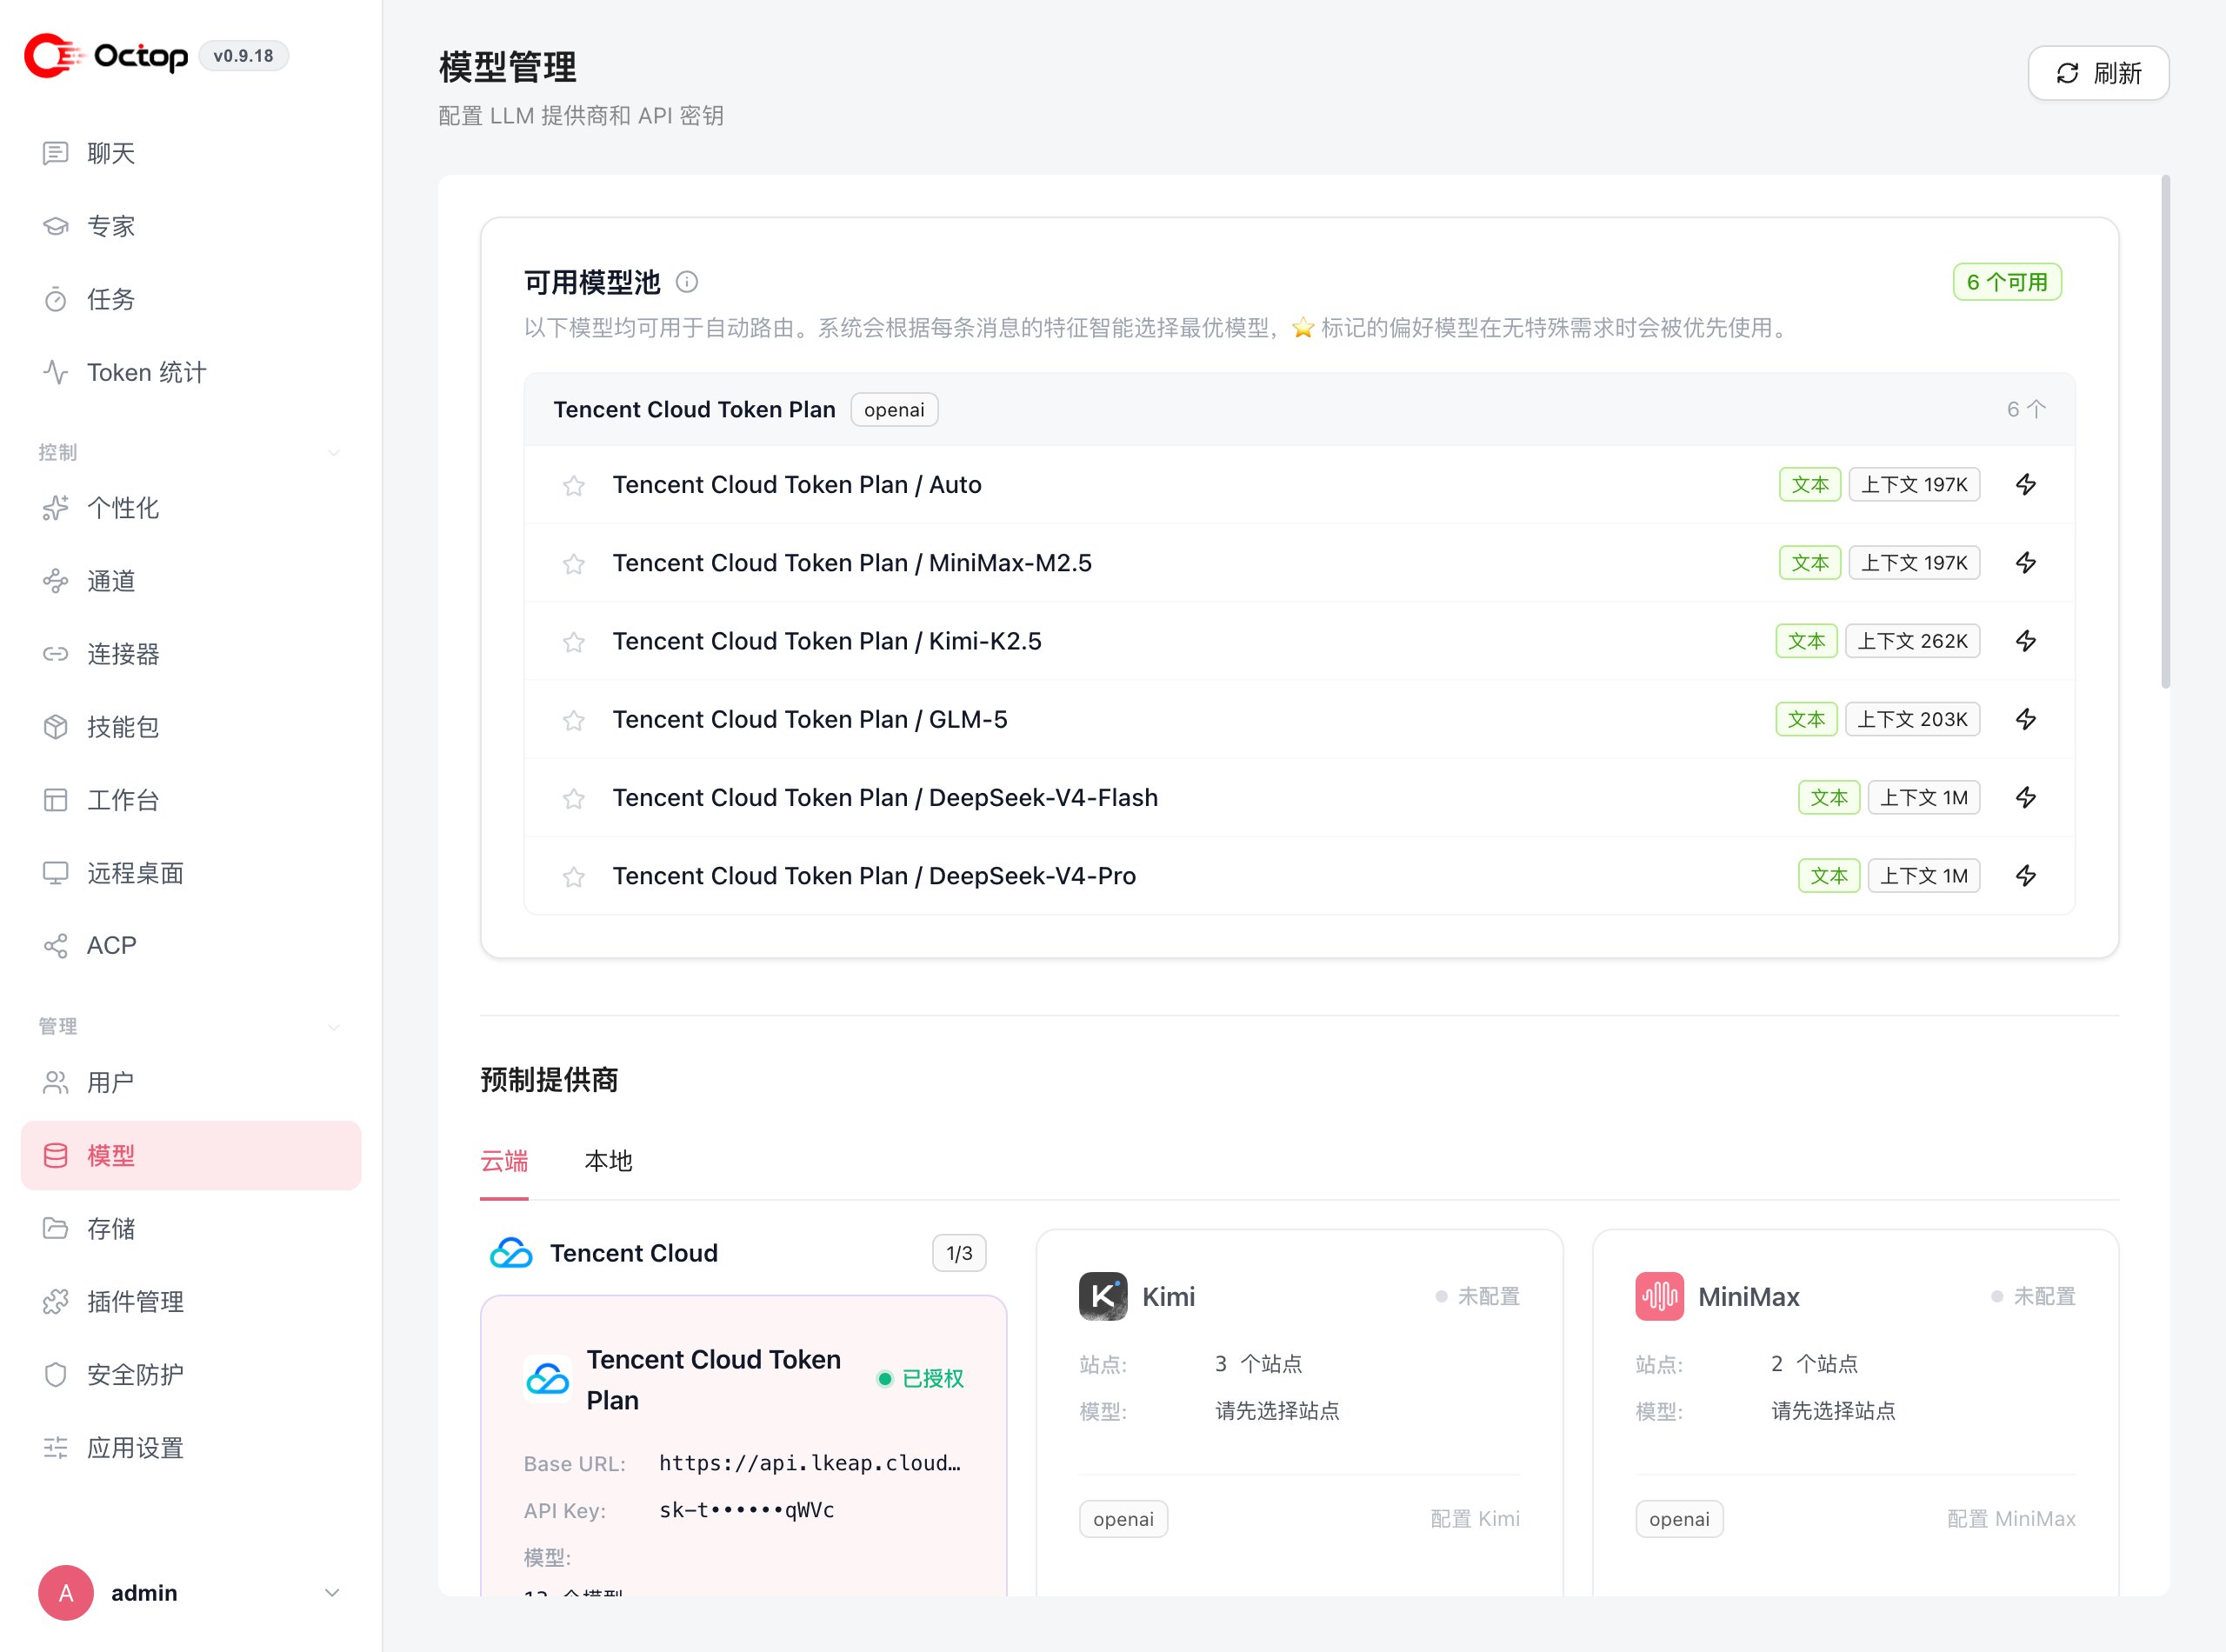
6
Start chatting
Open Chat in the web UI at 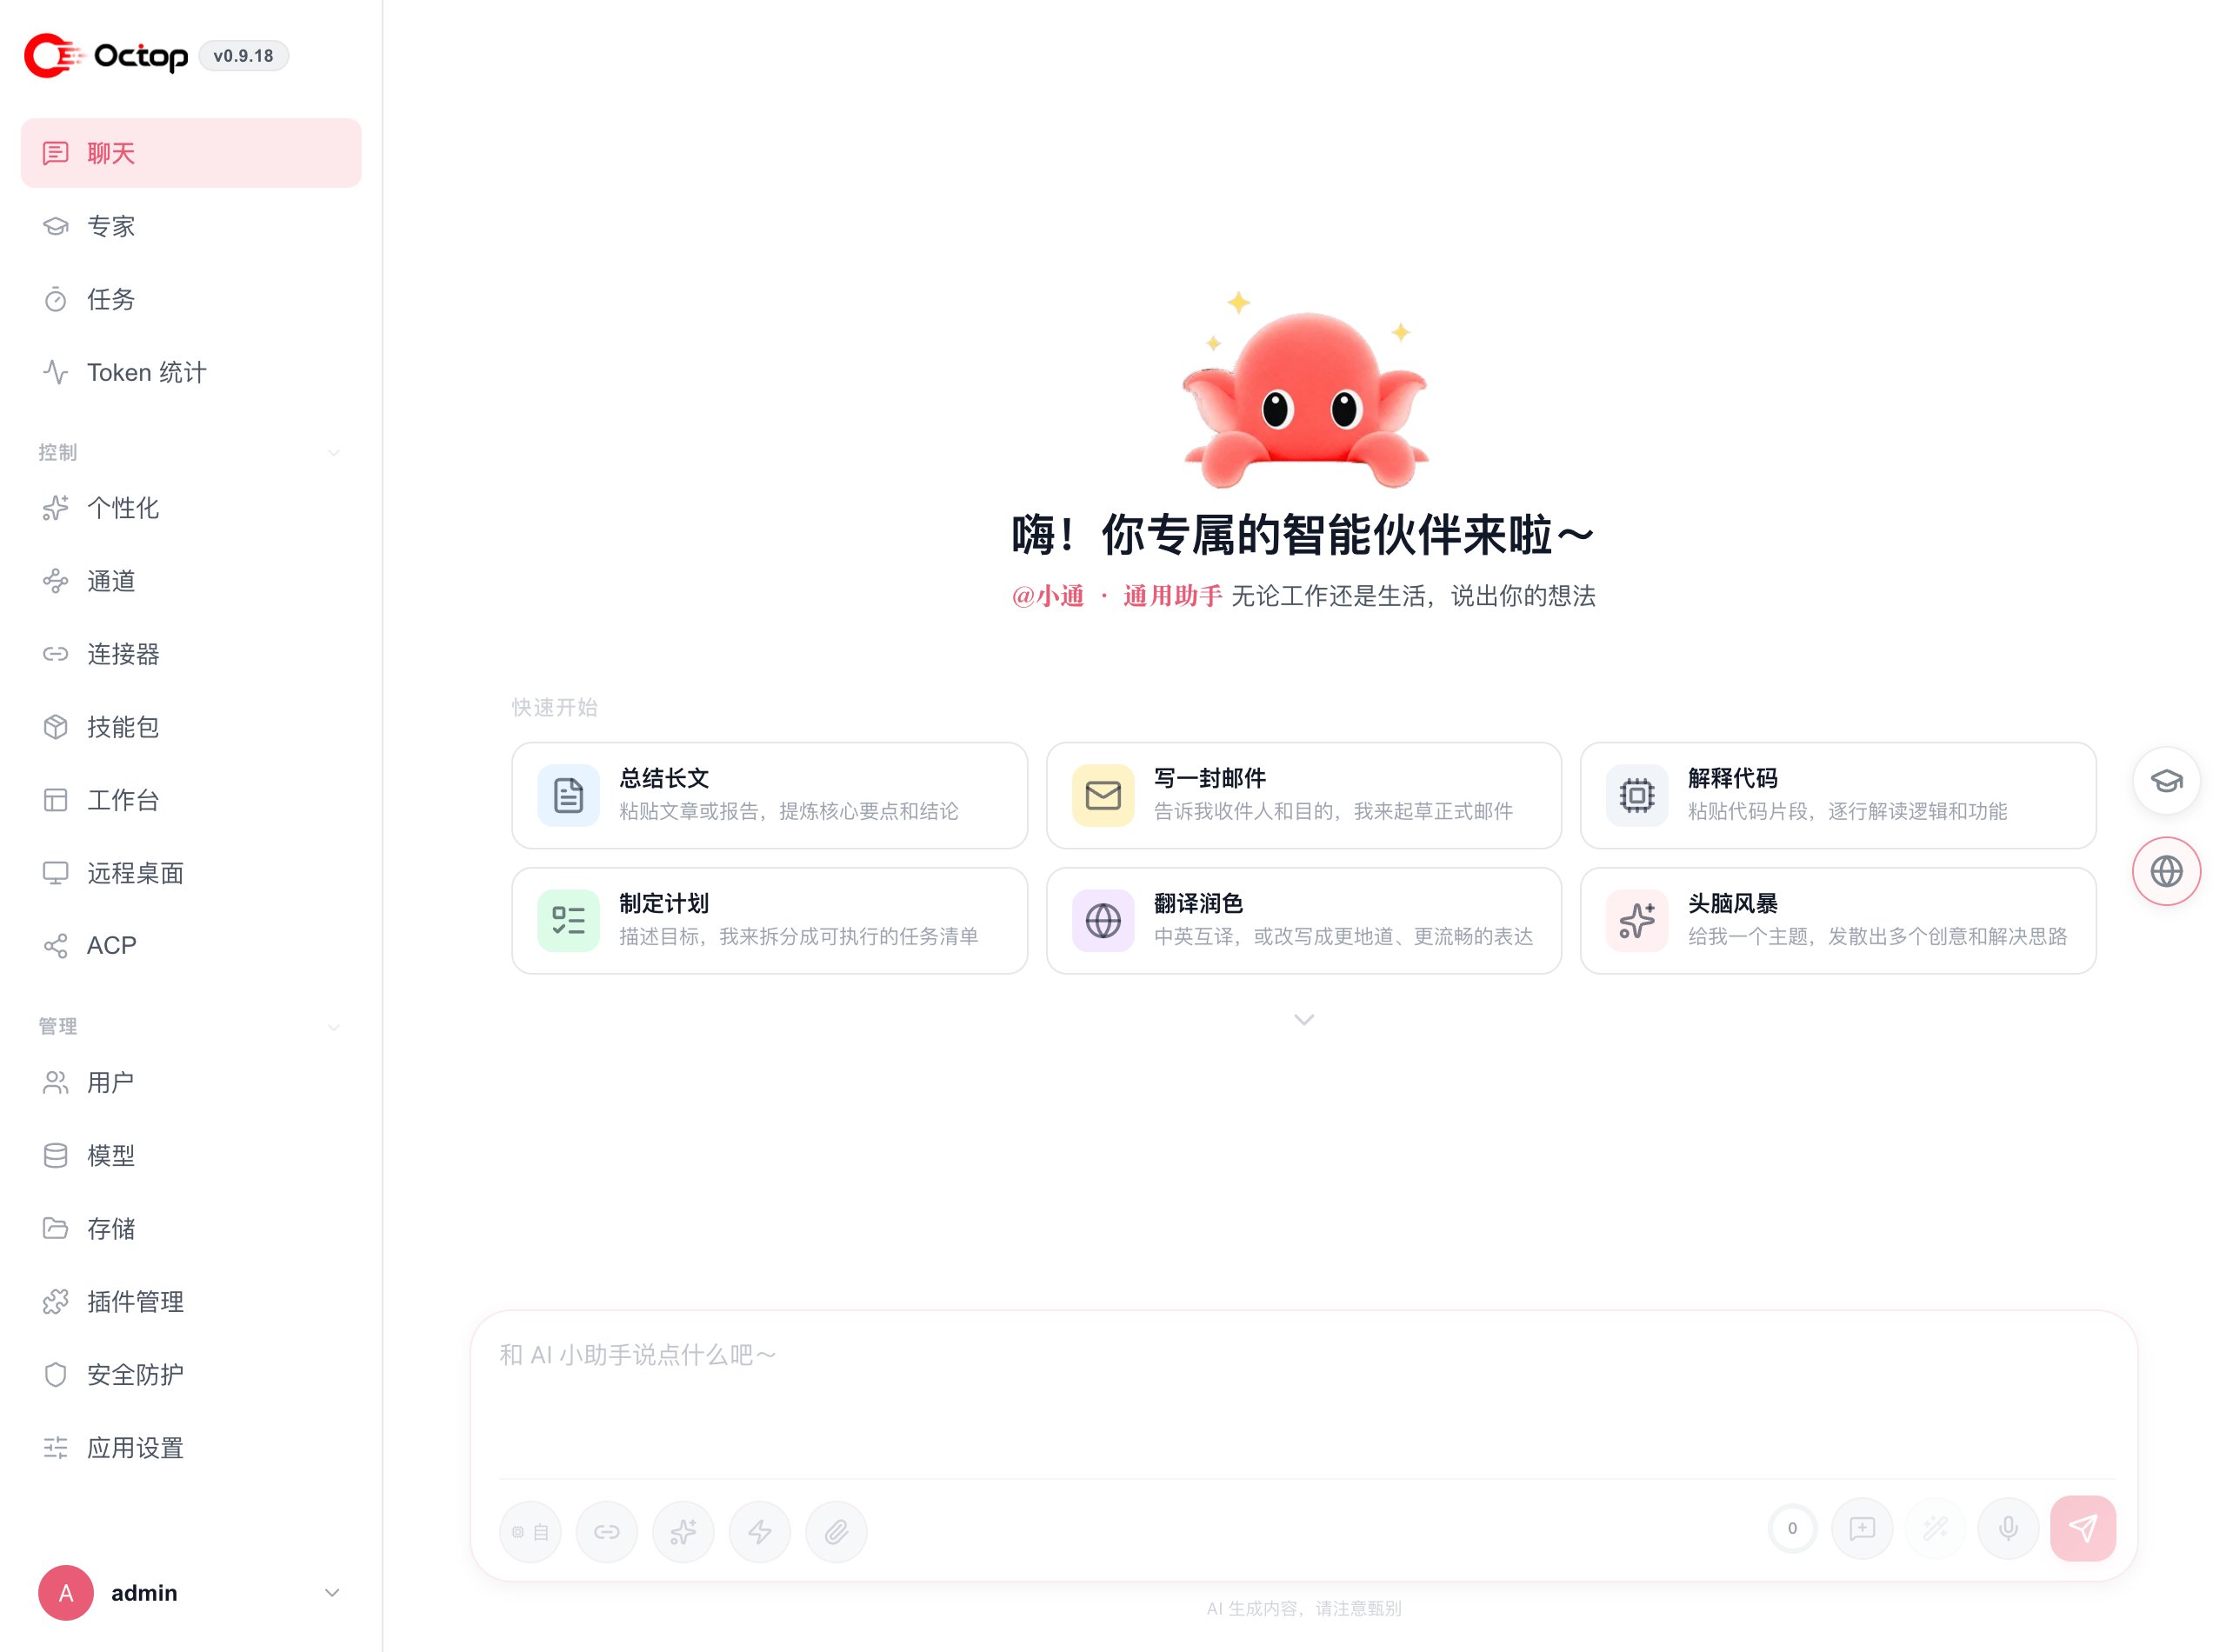
http://127.0.0.1:8088. Select your agent (the setup wizard creates a default main agent) and send your first message.The base installer sets up the core platform. To unlock additional capabilities, re-run the installer with an Browser automation enables headless Chromium sessions for web tasks and screenshots. The Feishu extra adds a channel bridge so your agents can receive and reply to Feishu messages.
--extras flag: