

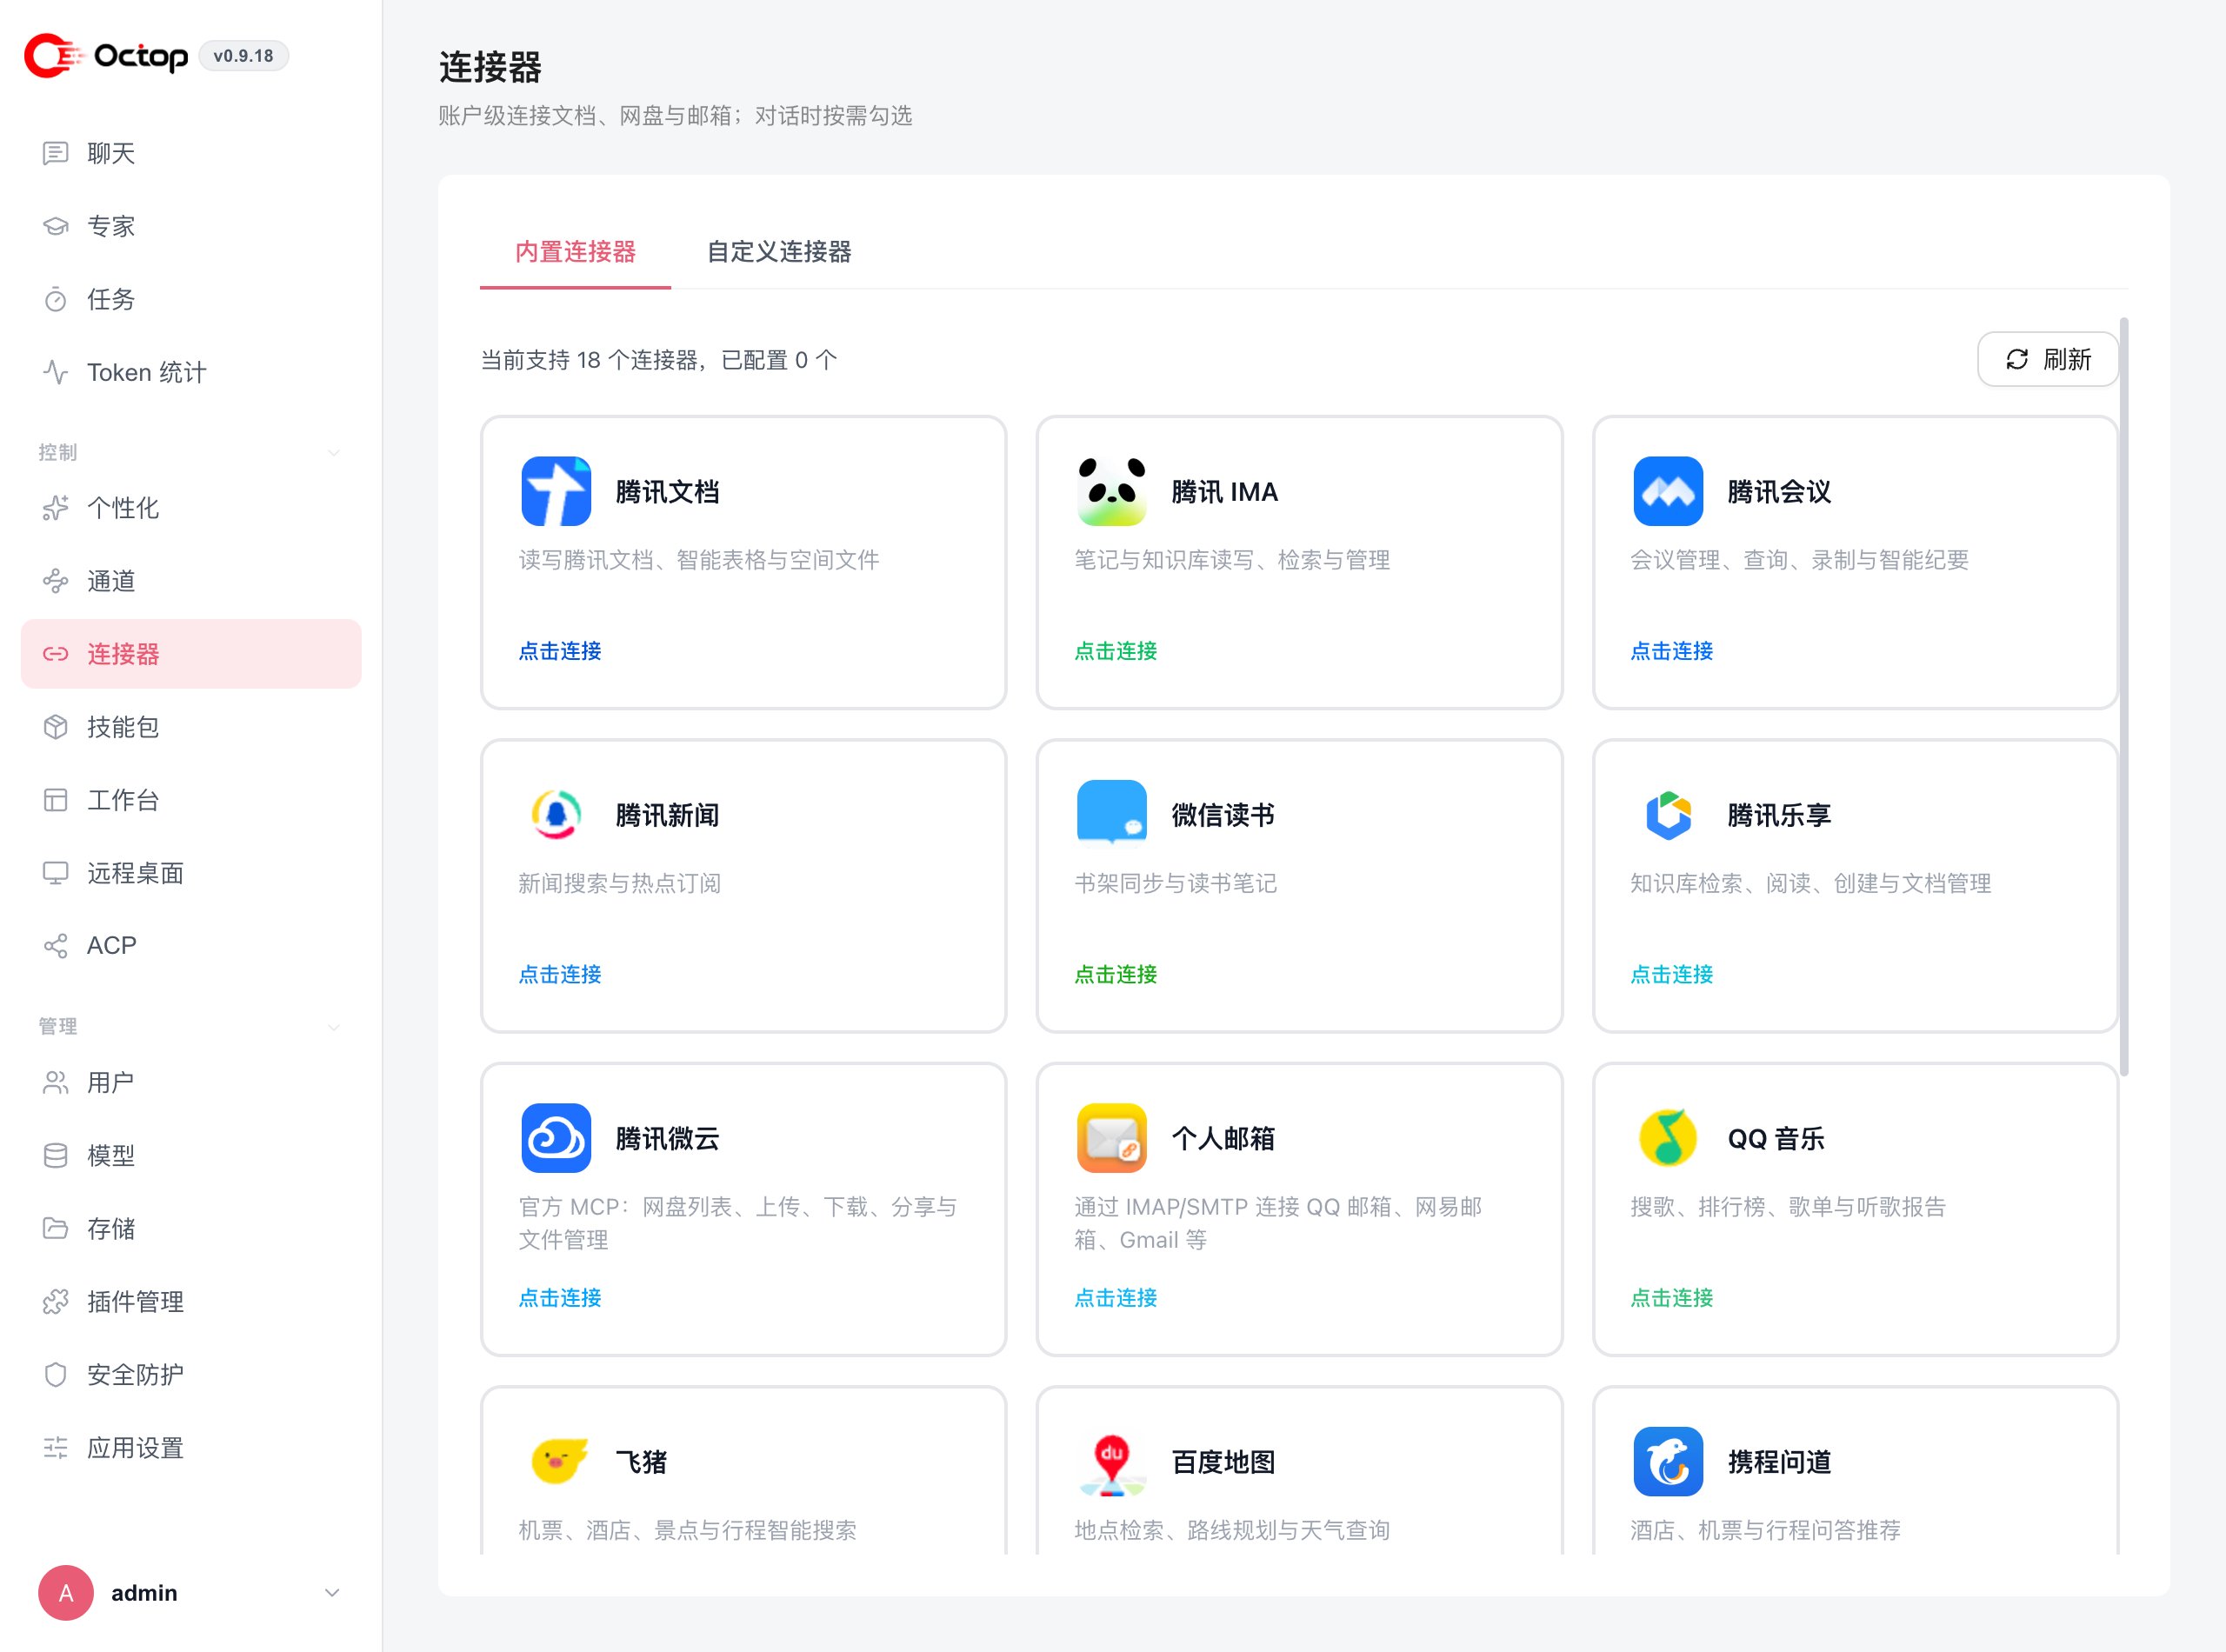
Built-in connectors
Octop ships built-in connectors (including catalog-driven MCP OAuth):Connect a built-in connector
1
Open Connectors
Navigate to Connectors in the sidebar and stay on the Built-in connectors tab.
2
Pick a service
Find the connector you want and click Connect.
3
Authorise access
Complete the authorisation flow. Octop stores the resulting token under
~/.octop/secrets/ — it never leaves your machine.4
Select it in chat
In a conversation, tick the connector instances the agent should be able to use. Shared instances appear for everyone who can see them.
Custom connectors (MCP)
The Model Context Protocol (MCP) is an open standard for connecting AI agents to external tool servers. Under Connectors → Custom connectors you can register any MCP-compatible server, either through the visual editor or by pasting JSON:A stdio server must be installed on the machine running
octop run, and an HTTP server must be reachable from it. Custom MCP over public HTTPS can use OAuth: Octop discovers the authorization server (401 / RFC 9728), requires dynamic client registration, stores encrypted tokens, and injects Authorization: Bearer when loading tools. Loopback MCP URLs skip remote OAuth discovery.How connectors appear to an agent
From the agent’s perspective, every active connector — built-in or MCP — is simply a tool available during a conversation. When you ask the agent to do something that needs an external service, it picks the appropriate tool, calls it, and folds the result into its reply. You do not need to invoke tools manually.Next steps
Agents
Learn how to create and configure the agents that use your connectors.
Overview
See how connectors fit into Octop’s overall single-process architecture.